
Manage Your Projects and Line Items in the TruckIT Portal
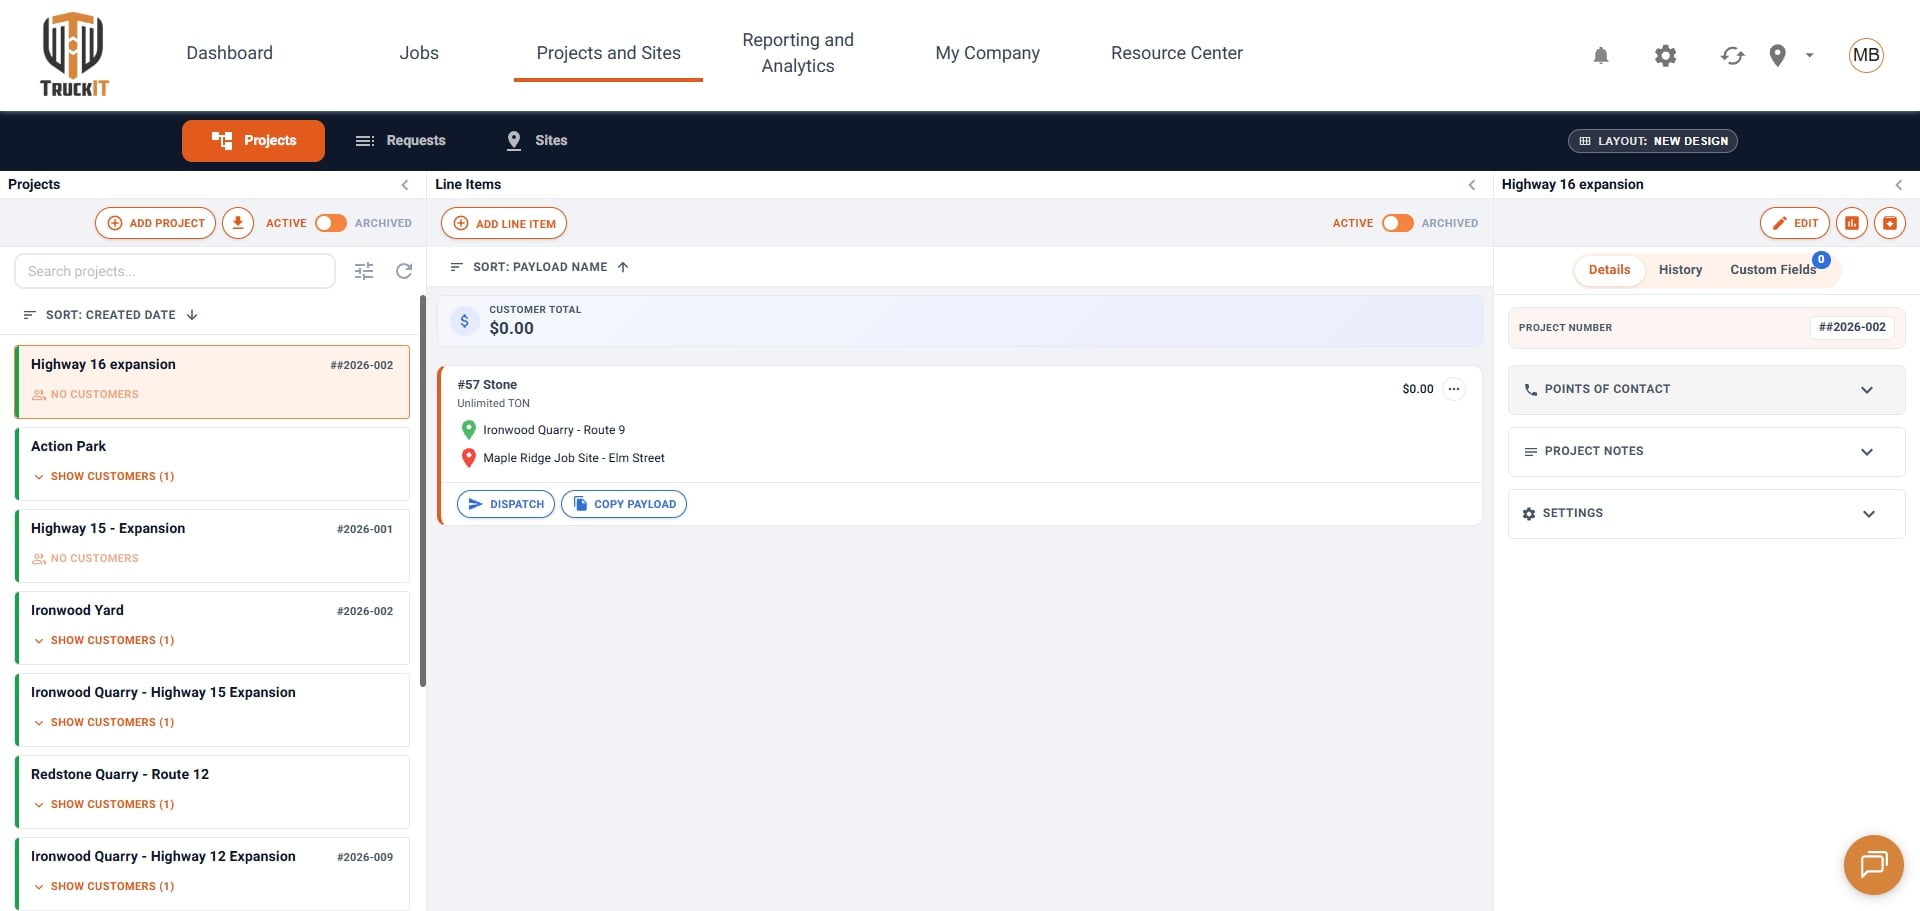
Create a project, add line items with their material, rates, and sites, and see each line item's edit history and the project's details, all from Projects and Sites.
TruckIT · Projects & Sites

Create a Project
1. Click Add Project. Go to Projects and Sites in the navigation menu, then click Add Project.
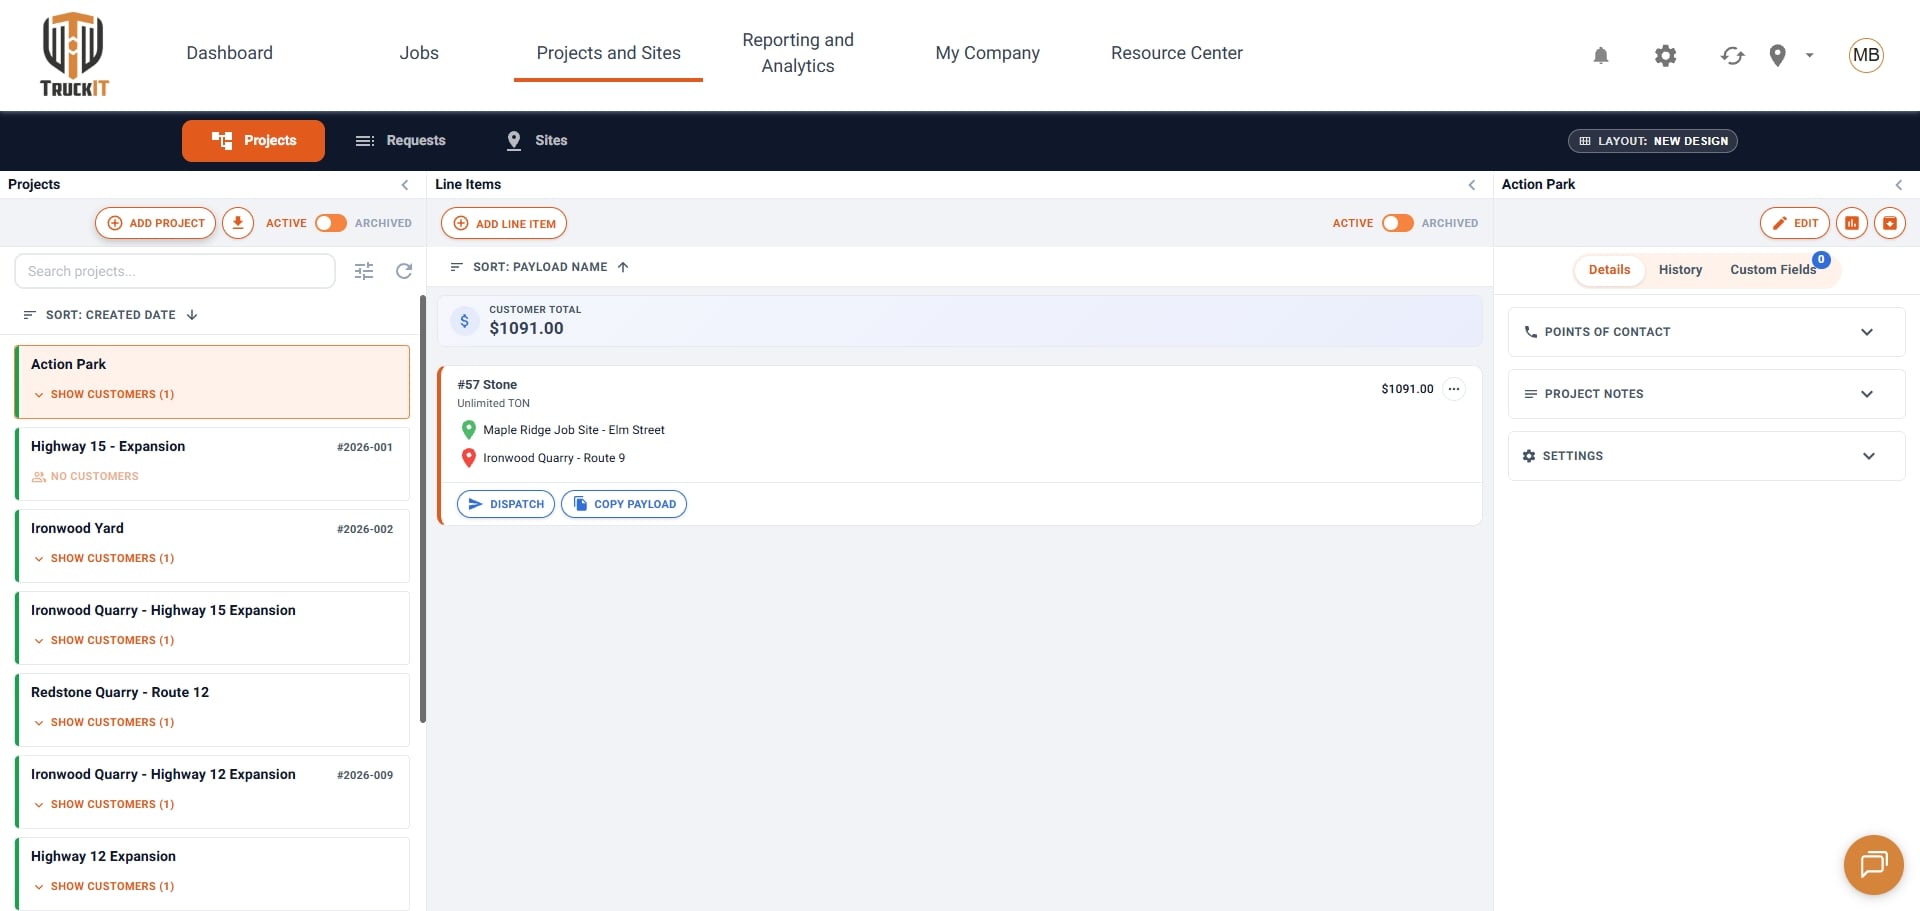
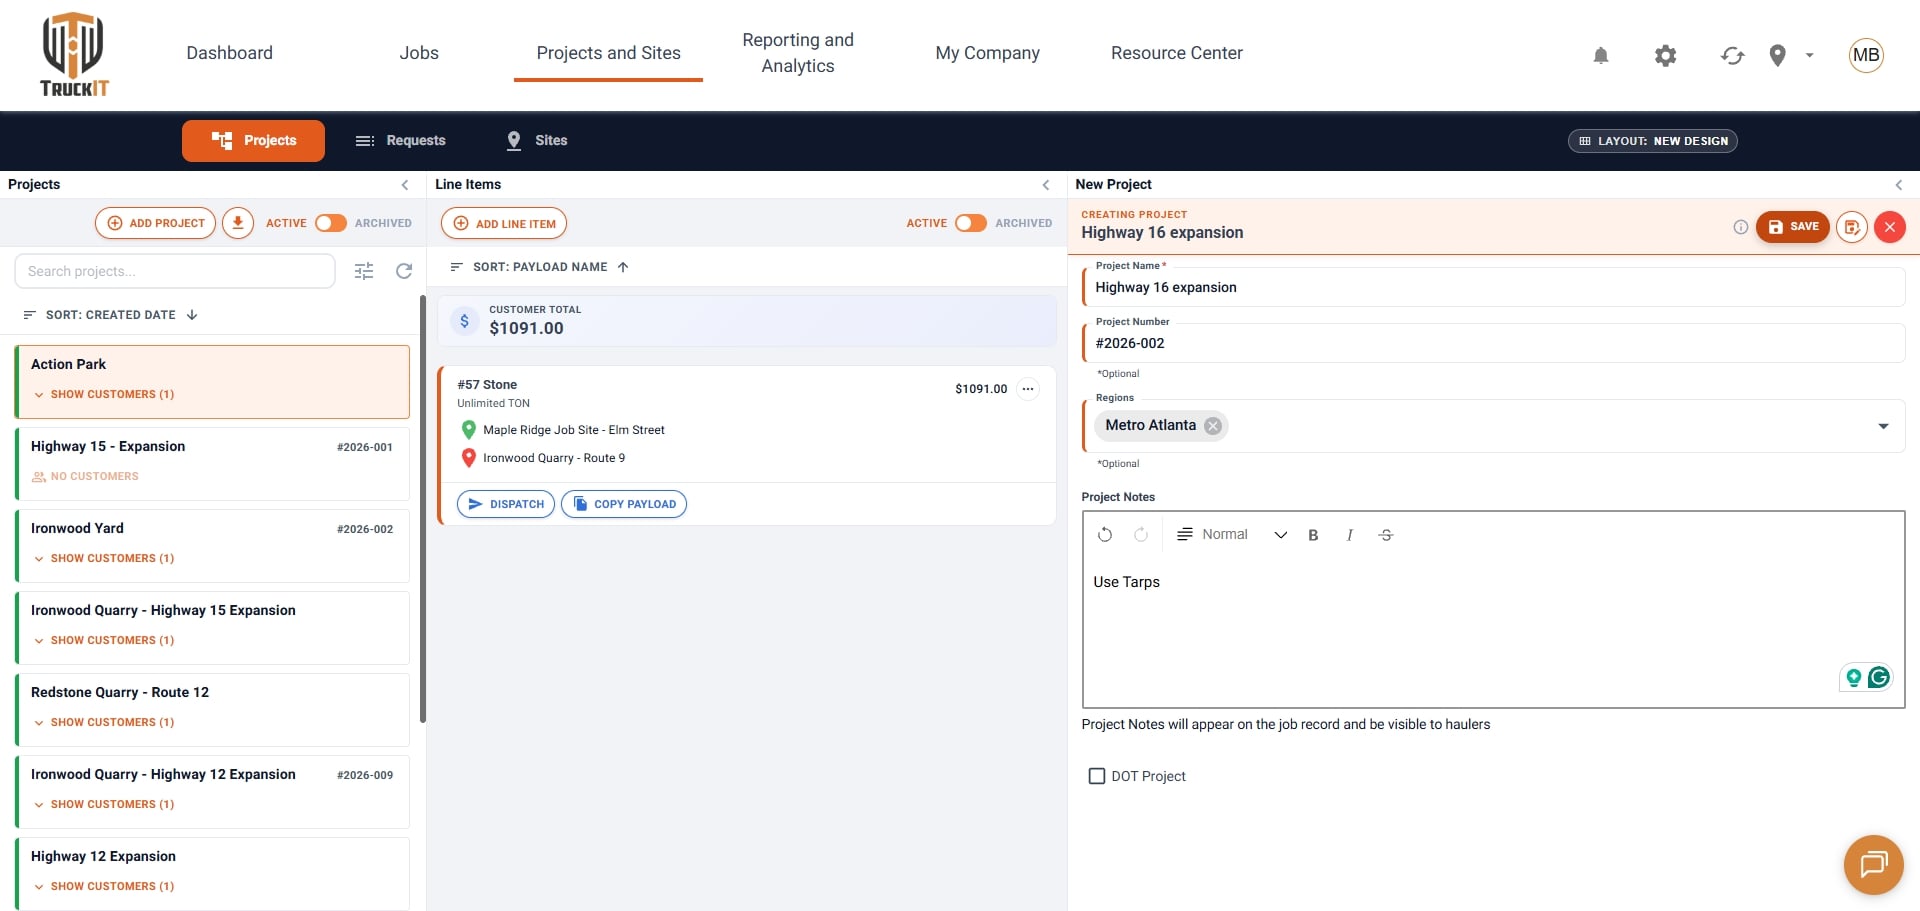
2. Enter the project details. Add a Project Name, then a Project Number if you use them. If your company uses regions, assign one in Regions.
3. Add project notes. Enter any notes for the project. Project notes appear on the job record and are visible to haulers.
4. Click Save.
Add a Line Item
1. Click Add Line Item. With your project selected, click Add Line Item at the top of the Line Items column.
2. Add a label (optional). A label makes the line item easier to find later.
3. Choose the material and truck types. Select the material in the Payload field, then add the truck types you’ll use for this line item.
4. Set the quantity. Select the unit of measure, then enter a quantity or toggle it to Unlimited.
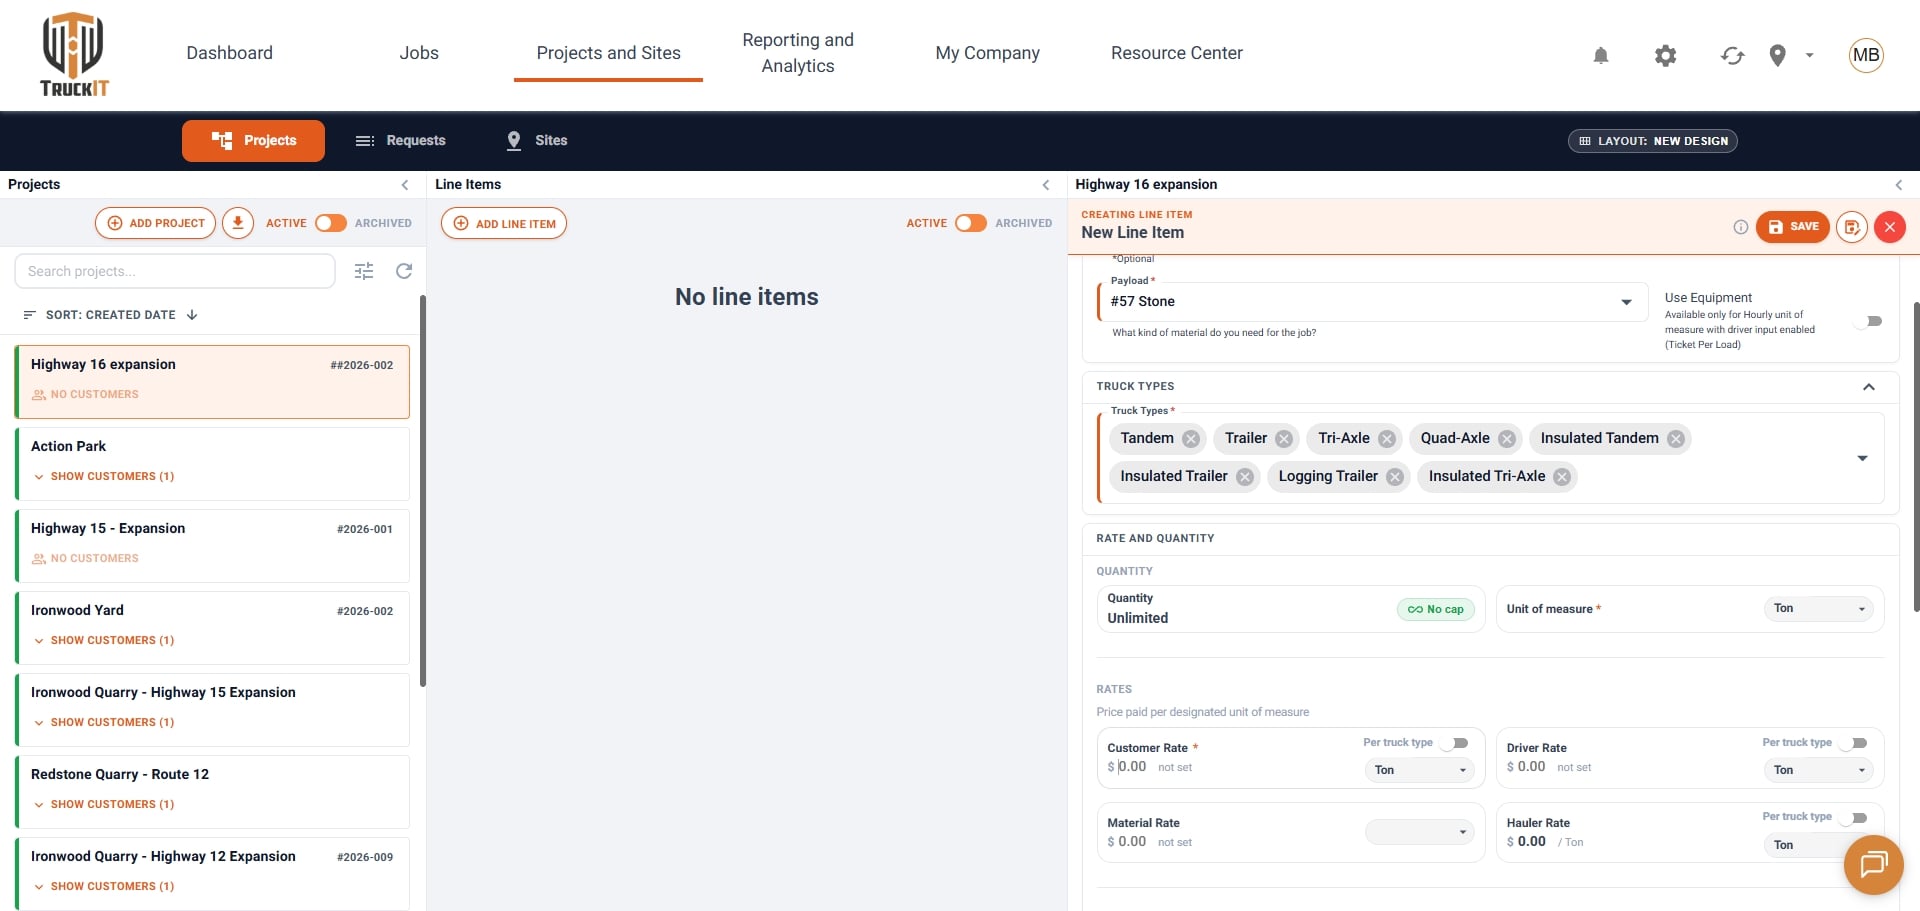
5. Set your rates. Enter the Customer Rate, Hauler Rate, Driver Rate, and Material Rate (see Set Rates Your Way).
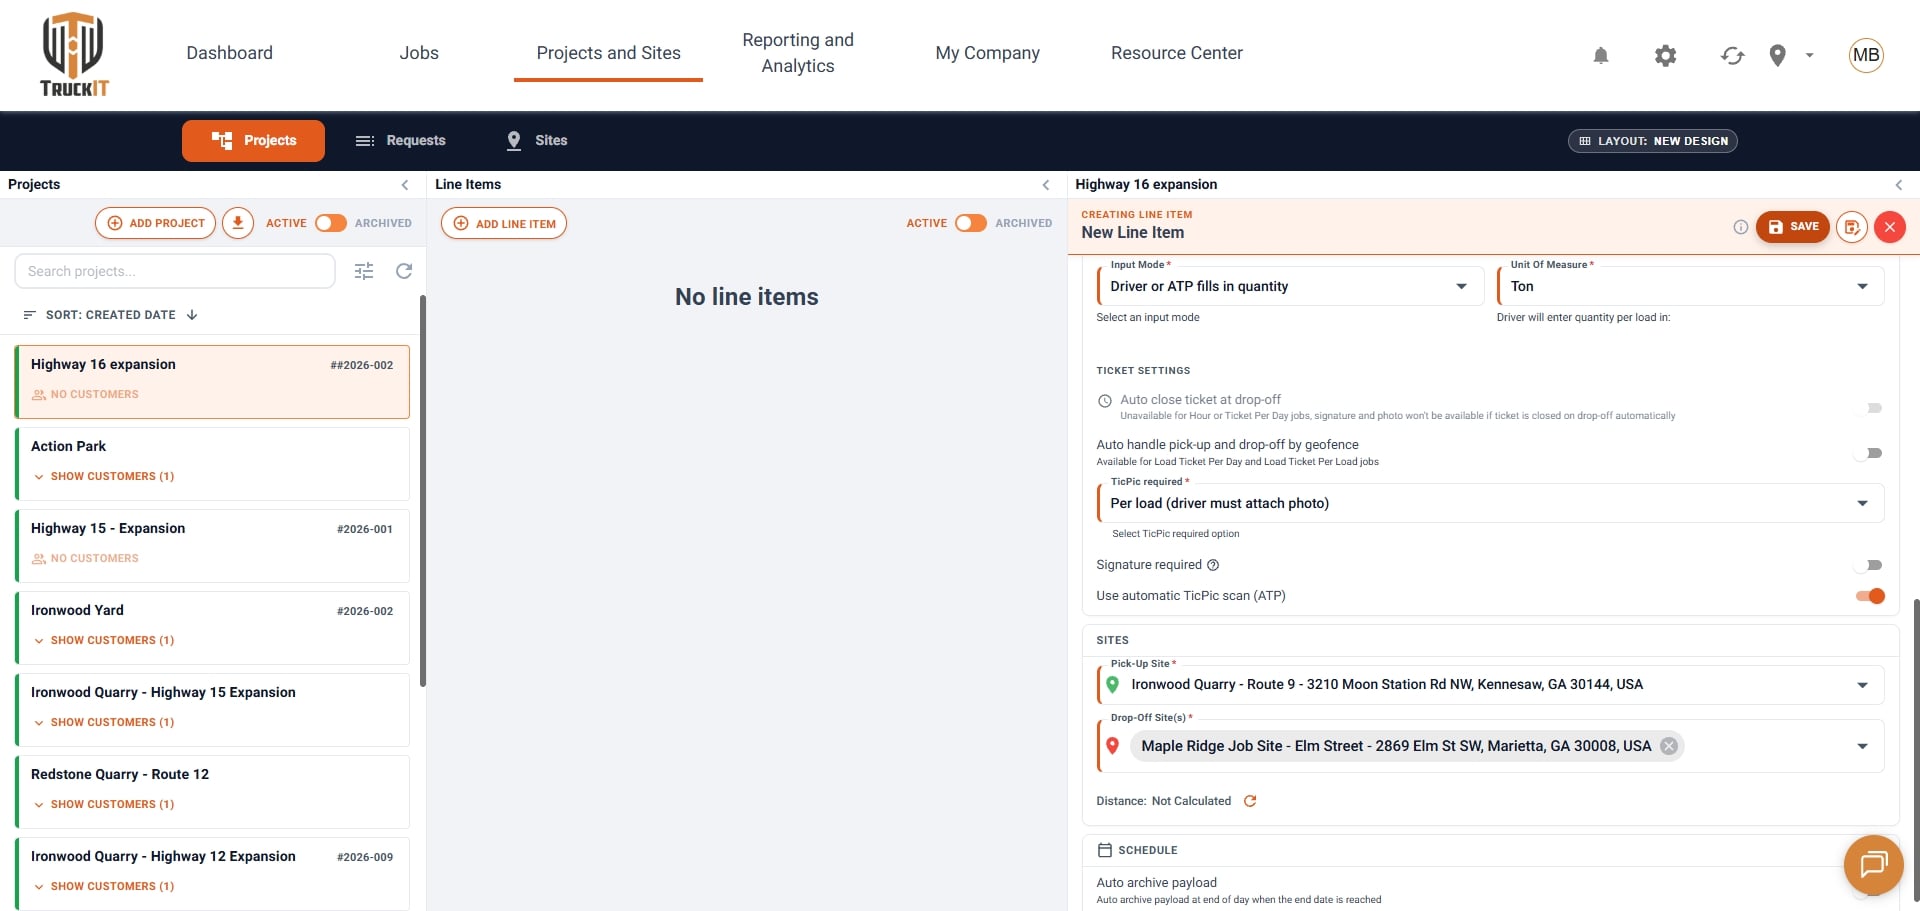
6. Choose how tickets are recorded. Select an Input Mode (how your team records ticket data) and the Unit of Measure that ticket data is recorded in.
7. Add your sites. Select the pick-up and drop-off sites.
8. Click Save to create the line item.
Set Rates Your Way
Customer, hauler, driver, and material rates work independently of each other, so you can invoice and pay however your business runs.
For example, you can charge your customer by the ton while paying your drivers and haulers by the load.
View Line Item History
1. Open the History tab. Select a line item, then click History.
2. Review the timeline. You’ll see every edit made to the line item, when it happened, and who made the change.
3. Click Close to return to the project details.
Review Project Details
On the project’s Details tab, expand each section to see more:
Points of Contact — add your foreman, customer, and any granted-access or restricted customers on the project.
Project Notes — shows the notes entered on the project.
Settings — shows the project’s region and terms.
Related Articles
 Questions? support@truckit.com