Use this article to export TruckIT tickets to QuickBooks Online.
The QuickBooks export helps your team move selected ticket data from TruckIT into QuickBooks Online for accounting, billing, invoicing, or back-office review.
You can export one ticket, multiple selected tickets, or all visible tickets from the Tickets page.
Before you begin
Make sure you are logged in to the TruckIT Web Portal.
You may need permission to view tickets and use QuickBooks export actions. If you do not see Jobs, Tickets, Ticket Actions, or QBO, contact your company administrator or TruckIT Support.
Before exporting tickets, confirm:
- Your QuickBooks Online integration is connected
- The tickets are ready for export
- The selected tickets are correct
- Ticket details have been reviewed for billing or accounting accuracy
- Any required ticket edits have been completed
- You are exporting only the tickets that should be sent to QuickBooks
Open the Tickets page
1. Log in to the TruckIT Web Portal.
2. Go to Jobs.
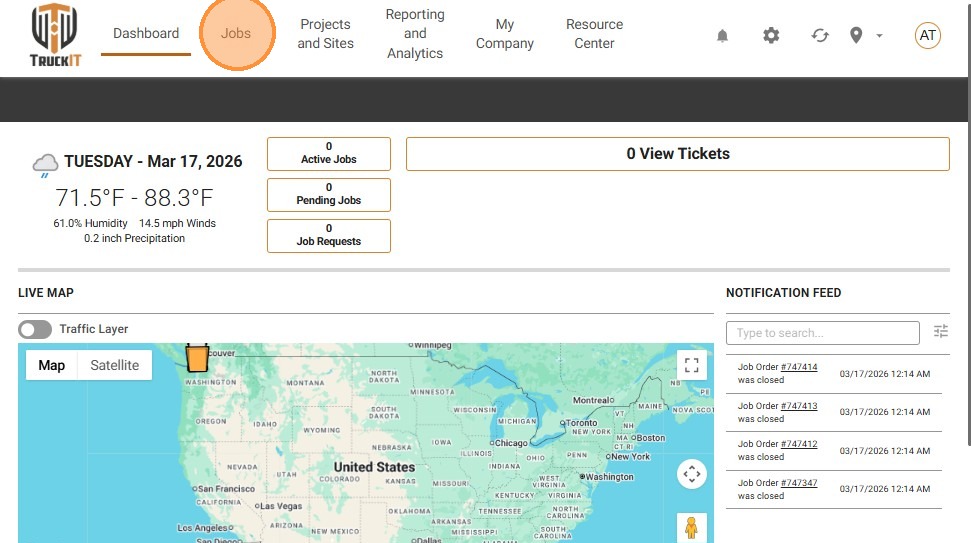
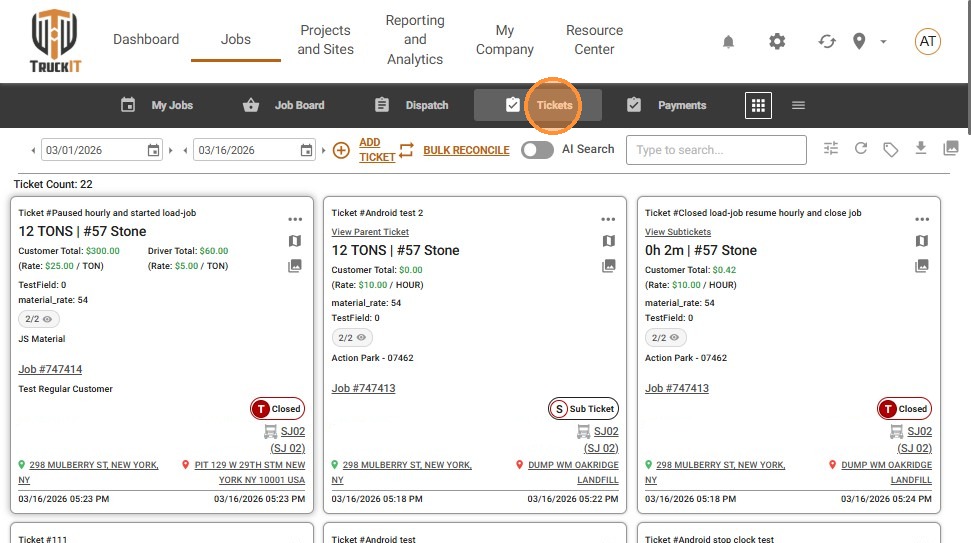
3. Select Tickets.
You can also navigate directly to the Tickets page from the TruckIT Portal. The current article points users to the TruckIT tickets page before starting the export workflow.
Select the tickets you want to export
From the Tickets page, select the tickets you want to send to QuickBooks Online.
You can:
- Hold Ctrl and click individual tickets to select them one by one
- Use Select All to select all available tickets in the current view
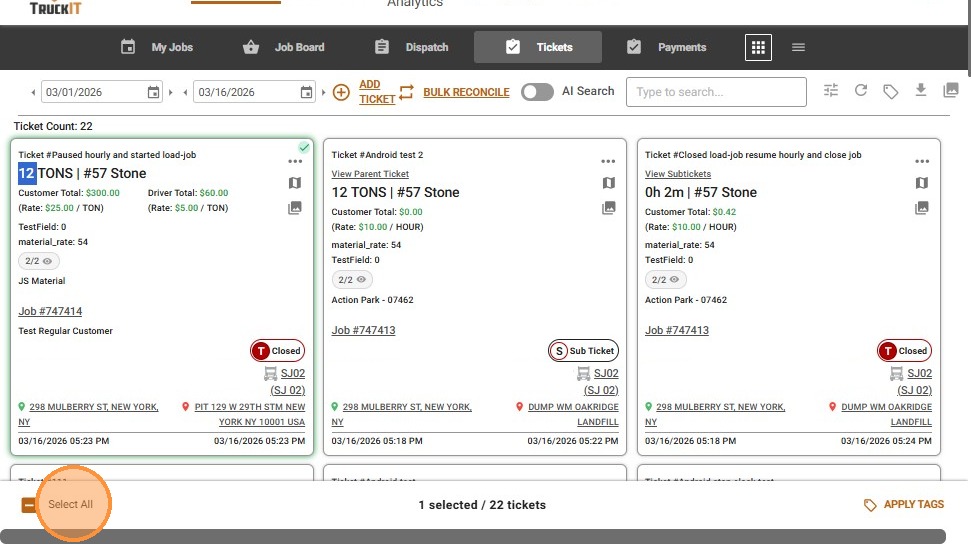
Only export tickets that are ready for accounting or billing review.
Export selected tickets to QuickBooks
After selecting the tickets:
1. Click the Ticket Actions icon.
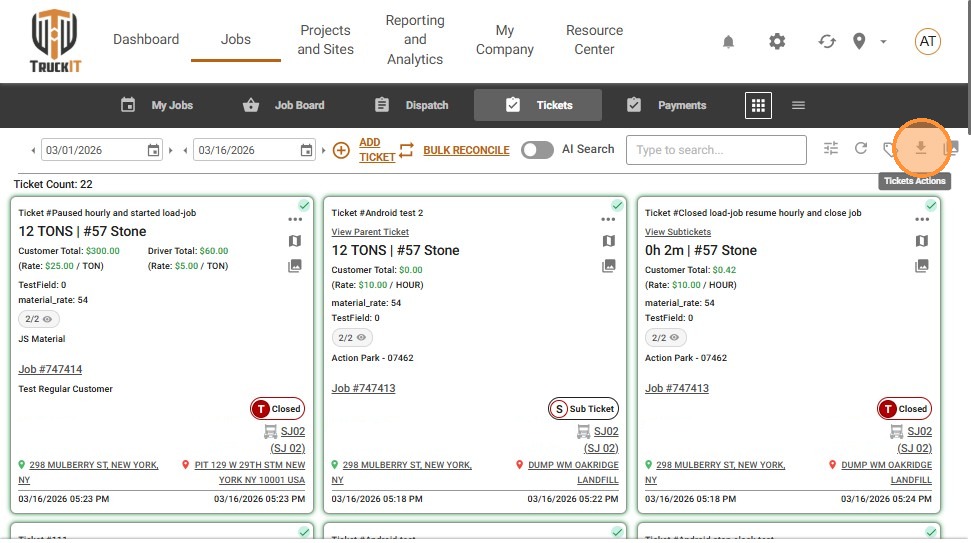
2. Click QBO.
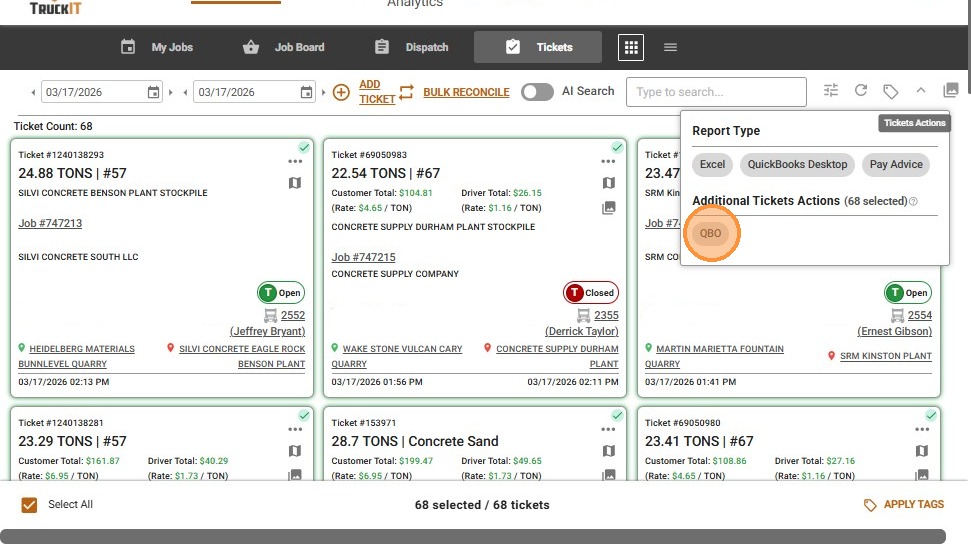
TruckIT will begin the export process for the selected tickets. The current article identifies QBO as the option used to export tickets to QuickBooks.
Review tickets before exporting
Before sending tickets to QuickBooks, review the selected tickets carefully.
Check the:
- Ticket number
- Project
- Customer
- Driver
- Truck
- Quantity or weight
- Unit of measure
- Rate, if applicable
- Ticket status
- Ticket photo, if required
- Any custom fields needed for billing
This helps reduce billing errors, duplicate work, and accounting cleanup after export.
When to export tickets to QuickBooks
Export tickets to QuickBooks when your team is ready to move ticket data into your accounting workflow.
Common reasons include:
- Creating invoices
- Preparing customer billing
- Reviewing completed ticket work
- Sending approved ticket data to accounting
- Reducing manual data entry
- Connecting TruckIT ticket activity with QuickBooks Online records
Best practices for QuickBooks exports
Use a consistent review process before exporting tickets.
Recommended best practices:
- Filter tickets before selecting them.
- Export only tickets that are ready for billing.
- Review ticket details before clicking QBO.
- Use Select All carefully so you do not export the wrong ticket group.
- Confirm tickets have the right customer, project, quantity, and rate details.
- Edit incorrect tickets before exporting.
- Reject unclear TicPics before exporting if ticket photos are required.
- Coordinate with your accounting team before re-exporting corrected tickets.
Troubleshooting
I do not see the QBO option
Your account may not have access to the QuickBooks integration, or the integration may not be enabled for your company. Contact your company administrator or TruckIT Support.
I do not see Ticket Actions
Confirm that you are on Jobs > Tickets and that you have selected at least one ticket. If the option still does not appear, your role may not have permission to perform ticket actions.
I selected the wrong tickets
If you have not clicked QBO yet, deselect the incorrect tickets and choose the correct ones before exporting. If you already exported them, contact your accounting team or TruckIT Support for next steps.
The ticket data looks wrong
Do not export the ticket yet. Edit the ticket first, review the corrected details, and then export when the ticket is ready.
I used Select All and exported too many tickets
Contact your accounting team and TruckIT Support so they can help review the export and determine the best correction process.
The export did not complete
Confirm your QuickBooks Online integration is connected and try again. If the issue continues, contact TruckIT Support with the ticket details and any error message.
Frequently asked questions
Where do I export tickets to QuickBooks?
Go to Jobs > Tickets, select the tickets you want to export, click the Ticket Actions icon, and select QBO.
Can I export one ticket at a time?
Yes. Select the individual ticket you want to export, then use Ticket Actions > QBO.
Can I export multiple tickets at once?
Yes. Hold Ctrl and click tickets to select them individually, or use Select All to select all tickets in the current view.
What does QBO mean?
QBO refers to QuickBooks Online.
Should I review tickets before exporting?
Yes. Review ticket details before exporting so the data sent to QuickBooks is accurate.
What should I do if a ticket needs to be corrected?
Edit the ticket in TruckIT before exporting it to QuickBooks.